하위 태스크 1
Thymeleaf 프로젝트 구조 파악
Controller/Service/Repository/templates 구조 이해
resources/templates 폴더는 Thymeleaf로 작성된 웹 문서 템플릿을 보관한다. 예를 들어 message.html 템플릿은 다음과 같다.
<!DOCTYPE html>
<html lang="en" xmlns:th="http://www.thymeleaf.org">
<head>
    <meta charset="UTF-8">
    <title>Thymeleaf Sample</title>
</head>
<body>
    <p th:text="#{home.welcome}">웰컴 메시지 테스트</p>
    <p th:utext="#{home.welcome.one}">웰컴 메시지 테스트 - unescaped</p>
    <p>환영합니다. <span th:text="#{member.name}">홍길동</span> 고객님</p>
</body>
</html>
클라이언트가 요청한 문서의 경로(pathname)와 템플릿은 HomeController 클래스에 의해 매핑된다. 다음은 HomeController 클래스의 일부를 발췌한 것이다. 클라이언트가 서버의 /message 경로에 요청하면, 서버는 resources/templates/message.html을 찾아 HTML 문서를 완성하고 응답한다.
@Controller
@Slf4j
public class HomeController {
@GetMapping("/message")
public String getMessage(Model model) {
return "message";
}
// ...
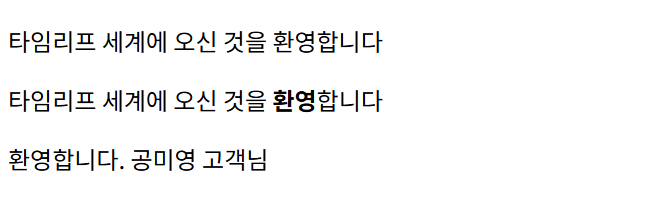
}웹브라우저에서 http://localhost:8080/message로 GET 요청을 전달한 뒤, 응답된 문서의 모습은 다음과 같다. 요소 텍스트의 내용이 resources/messages.properties에 선언된 값으로 변경되어 나타난다.
하위 태스크 2
도메인 선택/정의
상품/게시글 등 도메인 클래스와 Repository 준비
게시글에 대응하는 Article 도메인 클래스와 ArticleRepository 클래스를 작성한다.
Article.java:
@Data
@Builder
@NoArgsConstructor
@AllArgsConstructor
public class Article {
    private Long id;
    private String title;
    private String body;
    private String author;
    private LocalDateTime createdDateTime;
    private LocalDateTime modifiedDateTime;
}ArticleRepository.java:
@Component
public class ArticleRepository {
    static private final Map<Long, Article> registry = new HashMap<>();
    static private long sequence = 0L;

    public Article save(Article article) {
        if (article.getId() == null) {
            article.setId(sequence += 1);
            article.setCreatedDateTime(LocalDateTime.now());
        }
        article.setModifiedDateTime(LocalDateTime.now());
        registry.put(article.getId(), article);
        return article;
    }

    public Optional<Article> findById(Long id) {
        return Optional.ofNullable(registry.get(id));
    }

    public List<Article> findAll() {
        return new ArrayList<>(registry.values());
    }
}
하위 태스크 3
리스트 Controller 구현
리스트 조회용 Controller 메서드 작성
게시글 목록 조회를 위한 컨트롤러인 ArticleController 클래스를 생성한다.
package com.example.demo;

import jakarta.annotation.PostConstruct;
import lombok.RequiredArgsConstructor;
import org.springframework.beans.factory.annotation.Autowired;
import org.springframework.stereotype.Controller;
import org.springframework.ui.Model;
import org.springframework.web.bind.annotation.GetMapping;

import java.util.List;

@Controller
@RequiredArgsConstructor
public class ArticleController {
    private final ArticleRepository repository;

    @PostConstruct
    public void init() {
        repository.save(
            Article.builder()
                    .title("죽은 자의 집 청소")
                    .author("김 완")
                    .body("누군가 홀로 죽으면 나의 일이 시작된다.")
                    .build()
        );
        repository.save(
            Article.builder()
                    .title("1984")
                    .author("조지 오웰")
                    .body("빅 브라더가 당신을 주시하고 있다.")
                    .build()
        );
        repository.save(
            Article.builder()
                    .title("별")
                    .author("알퐁스 도데")
                    .body("나는 그 잠든 얼굴을 지켜보며 꼬빡 밤을새웠습니다.")
                    .build()
        );
    }

    @GetMapping("/articles")
    public String getArticles(Model model) {
        model.addAttribute("articles", repository.findAll());
        return "articles";
    }
}
하위 태스크 4
리스트 템플릿 작성
th:each 를 사용해 테이블 리스트 화면 구현
resources/templates/articles.html에 템플릿 파일을 작성한다.
<!DOCTYPE html>
<html lang="en" xmlns:th="http://www.thymeleaf.org">
<head>
<meta charset="UTF-8">
<title>Articles</title>
</head>
<body>
<table>
<tr th:each="article : ${articles}">
<td th:text="${article.title}"></td>
<td th:text="${article.author}"></td>
<td th:text="${article.body}"></td>
</tr>
</table>
<br>
<table>
<tr th:each="article, iteration : ${articles}" th:style="${iteration.odd}?'background-color: lightgray;'">
<td th:text="${iteration.count}"></td>
<td th:text="${article.title}"></td>
<td th:text="${article.author}"></td>
</tr>
</table>
<br>
<th:block th:each="article : ${articles}">
<p>
제목: <span th:text="${article.title}"></span>
저자: <span th:text="${article.author}"></span>
본문: <span th:text="${article.body}"></span>
생성: <span th:text="${article.createdDateTime.toString()}"></span>
수정: <span th:text="${article.modifiedDateTime.toString()}"></span>
</p>
</th:block>
</body>
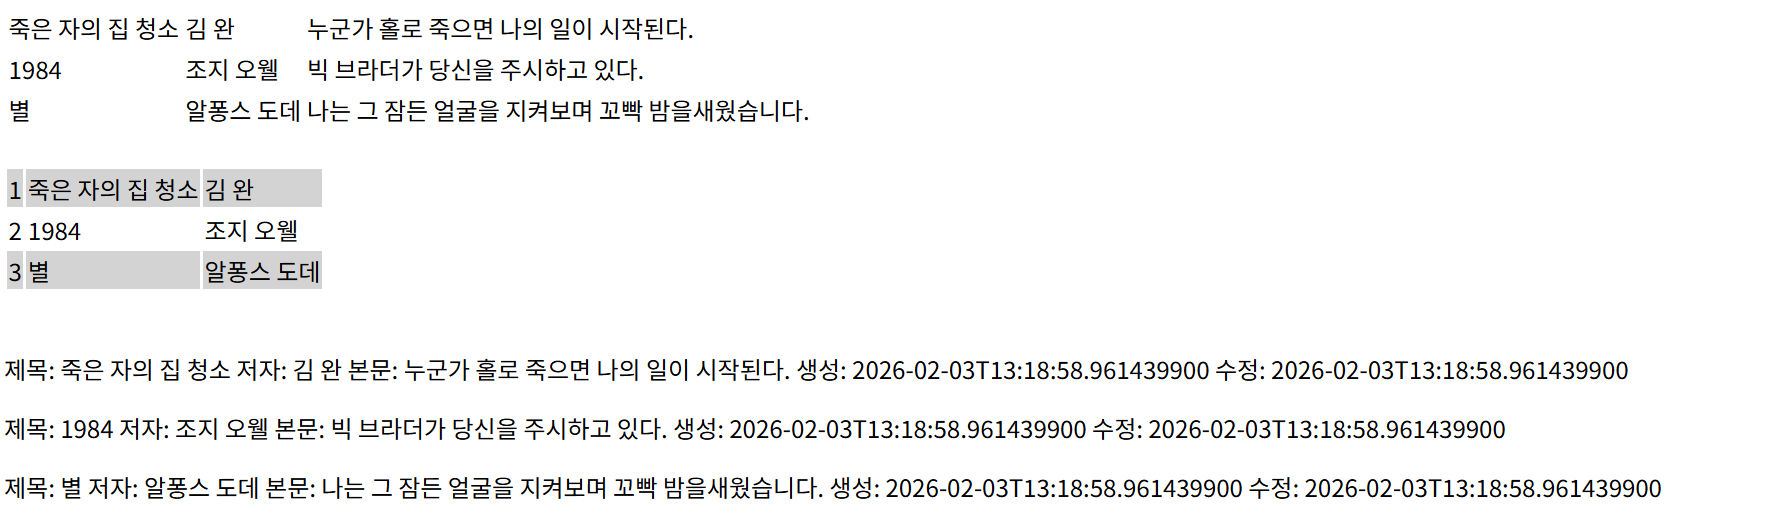
</html>브라우저 렌더링 결과는 다음과 같다.
하위 태스크 5
상세 Controller 구현
단건 조회용 Controller 메서드 작성
ArticleController 클래스에 게시글 단건 조회를 위한 getArticle 메서드를 추가한다.
@Controller
@RequiredArgsConstructor
public class ArticleController {
    // ...

    @GetMapping("/articles/{id}")
	public String getArticle(@PathVariable Long id, Model model) {
	    Article article = repository.findById(id)
	            .orElse(Article.builder().title("무제").author("미상").body("").build());
	    model.addAttribute("article", article);
	    return "article";
	}
}
하위 태스크 6
상세 템플릿 작성
상세 정보를 보여주는 템플릿 구현
게시글 단건 조회를 위한 resources/templates/article.html 템플릿을 작성한다.
<!DOCTYPE html>
<html lang="en" xmlns:th="http://www.thymeleaf.org">
<head>
  <meta charset="UTF-8">
  <title>Articles</title>
</head>
<body>

<th:block>
  <p>
    제목: <span th:text="${article.title}"></span>
    저자: <span th:text="${article.author}"></span>
    본문: <span th:text="${article.body}"></span>
    생성: <span th:text="${article.createdDateTime.toString()}"></span>
    수정: <span th:text="${article.modifiedDateTime.toString()}"></span>
  </p>
</th:block>
</body>
</html>
브라우저 렌더링 결과는 다음과 같다.
http://localhost:8080/articles/1:

하위 태스크 7
검증 어노테이션 추가
DTO/엔티티에 @NotBlank, @Min 등 검증 추가
build.gradle에 검증을 위한 의존성을 추가한다.
dependencies {
+   implementation 'org.springframework.boot:spring-boot-starter-validation'
	// ...
}
Article 엔티티 클래스에 검증 어노테이션을 추가한다.
public class Article {
    @Min(1L)
    private Long id;

    @NotBlank
    private String title;

    @NotBlank
    private String body;

    @NotBlank
    private String author;

    private LocalDateTime createdDateTime;
    private LocalDateTime modifiedDateTime;
}
하위 태스크 8 ~ 9
등록 폼/저장 로직 구현
GET/POST /items/new 흐름 구현
검증 에러 처리
BindingResult를 이용해 에러 메시지 출력
GET /articles/new 흐름을 구현한다. ArticleController에 newArticle 메서드를 추가한다.
@Controller
@RequiredArgsConstructor
public class ArticleController {
    // ...

    @GetMapping("/articles/new")
    public String newArticle(Model model) {
        model.addAttribute("article", new Article());
        return "new-article";
    }

	// ...
}resources/templates/new-articles.html에 새로운 게시글을 추가하는 폼을 포함한 웹 문서를 작성한다.
<!DOCTYPE html>
<html lang="en" xmlns:th="http://www.thymeleaf.org">
<head>
<meta charset="UTF-8">
<title>New Article</title>
</head>
<body>
<form th:action="@{/articles}" th:object="${article}" method="post">
<div>
<label for="title">제목:</label>
<input type="text" id="title" th:field="*{title}" />
<span th:if="${#fields.hasErrors('title')}" th:errors="*{title}"></span>
</div>
<div>
<label for="author">저자:</label>
<input type="text" id="author" th:field="*{author}" />
<span th:if="${#fields.hasErrors('author')}" th:errors="*{author}"></span>
</div>
<div>
<label for="body">본문:</label>
<textarea id="body" th:field="*{body}"></textarea>
<span th:if="${#fields.hasErrors('body')}" th:errors="*{body}"></span>
</div>
<div>
<button type="submit">게시글 추가</button>
</div>
</form>
</body>
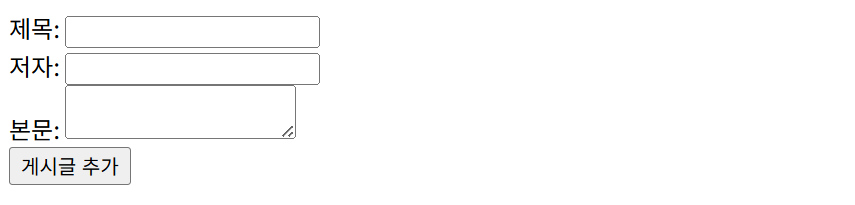
</html>브라우저에서 http://localhost:8080/articles/new에 접속한 결과는 다음과 같다.
이제 POST /articles 흐름을 구현한다. ArticleController 클래스에 createArticle 메서드를 구현한다.
public class ArticleController {
// ...
@PostMapping("/articles")
public String createArticle(@Valid @ModelAttribute Article article, BindingResult bindingResult) {
if (bindingResult.hasErrors()) {
return "new-article";
}
repository.save(article);
return "redirect:/articles";
}
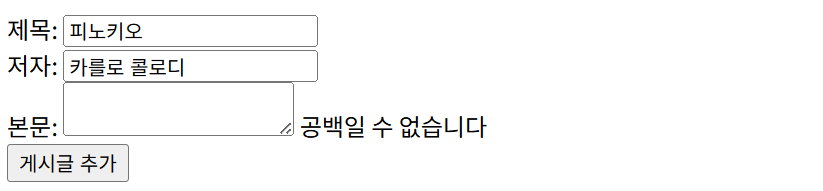
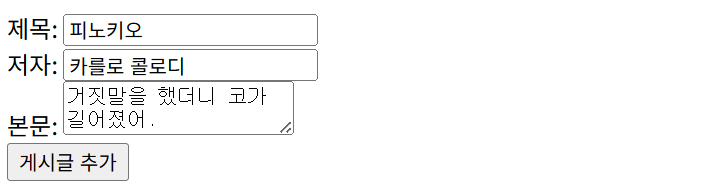
}웹브라우저에서 http://localhost:8080/articles/new에 접속해 폼을 작성한다.
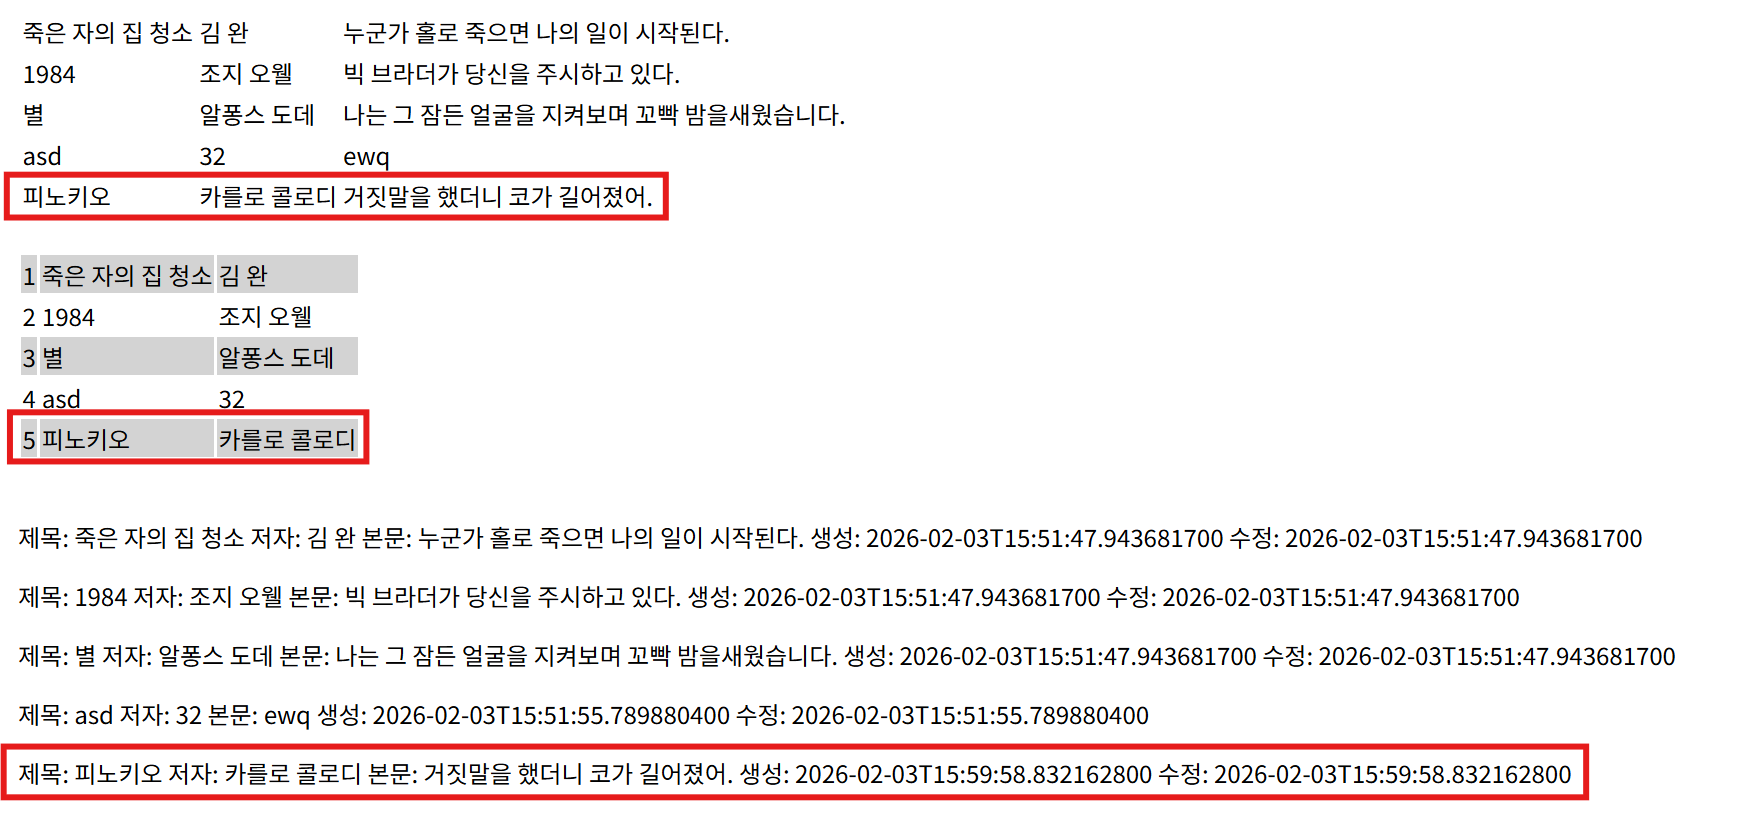
게시글 추가 버튼을 클릭하면 /articles 경로로 이동하며, 결과는 다음과 같이 새로운 게시글이 추가되었다.
http://localhost:8080/articles/new에서 유효하지 않은 값이 제출되면, 에러 메시지가 출력된다.